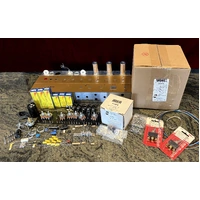
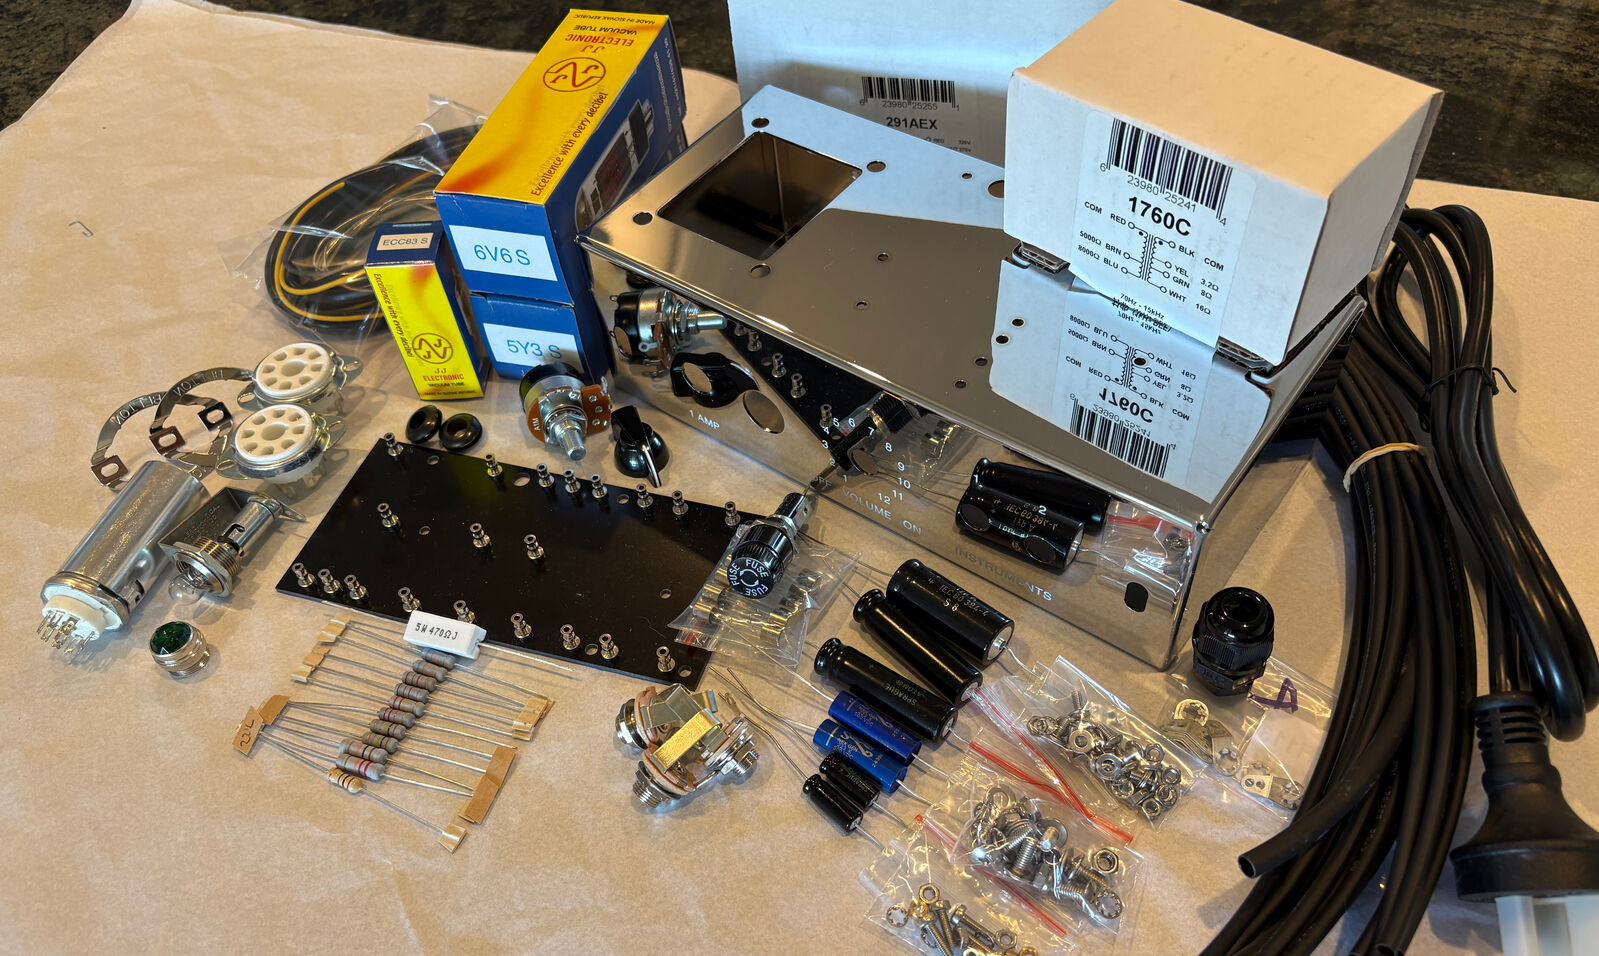
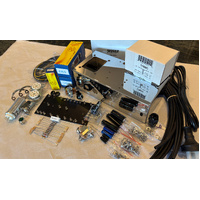
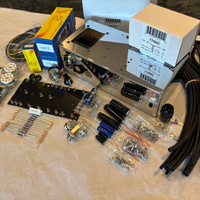
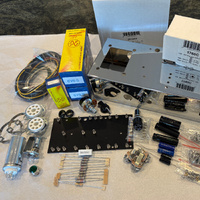
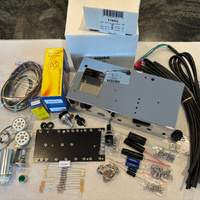
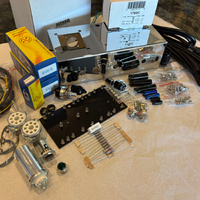
The Champ 5F1 Parts Pack
SKU code: AP-5F1PPP
5F1 Champ Premium Pack Parts List
The Fender 5F1 Champ is a classic tweed circuit: one 12AX7, one 6V6, one rectifier and a single volume knob. It is a small, cathode-biased single-ended amp, and it is the amp behind a surprising number of famous studio guitar tones.
This list follows the popular 5F1 layout by Rob Robinette, with every part linked to our Australian store and notes for building on 240 V mains. This Premium pack has an upgraded transformer (1760C with 3 output choices) and uses premium Sprague Axials and Sozo capacitors which are considered to be the best. If you wish to have a great amp without the pricetag / bling, try our Value Pack which uses Evatco branded capacitors (which are used by techs all over Australia) output transformer.
- 5 W single-ended Class A
- 12AX7 preamp
- 6V6GT power valve
- 5Y3GT rectifier
- Cathode biased (no bias adjust)
- 1 volume, 2 inputs
Important Product Information: This is a Component Pack, NOT a Kit
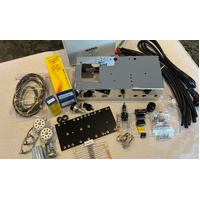
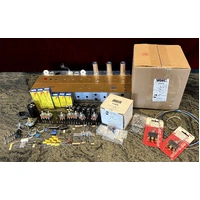
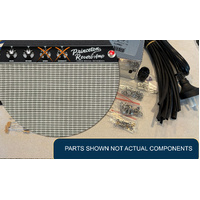
The 5F1 Champ pack contains a collection of individual parts to save you time when sourcing materials for a build. It does not include instructions, step-by-step assembly guides, or build support from Evatco. This product is intended strictly for experienced builders and technicians.
What this list does not include
This parts list covers the amplifier chassis and electronics only. It does not include the cabinet or the speaker. Those depend on whether you build a small original-size Champ cabinet or a larger one, so choose them once your cabinet plan is settled. See our speaker recommendations below.
Safety first
Valve amps run at lethal voltages, and the filter capacitors can hold a charge after the amp is switched off and unplugged. Read our valve amp safety notes before you start, and have your mains wiring checked by a qualified person before first power-up.
Building in Australia: 240 V notes
Most 5F1 layouts and schematics online, including Rob Robinette's, are drawn for 120 V North American mains. Please read these points before you order or wire anything.
1. Use a 240 V power transformer
A US 120 V-only transformer (such as the Hammond 290AX) will not work safely here. Use the Hammond 291AEX, which has a multi-tap 120 / 220 / 230 / 240 V, 50/60 Hz primary. Wire the 240 V tap and insulate the unused primary leads individually with heat shrink. Follow the Hammond wiring diagram for your transformer, as lead colours vary.
2. Australian mains wiring colours
Rob's layout uses US colours (black = hot, white = neutral, green = ground). In Australia:
- Brown = Active (replaces "black / hot")
- Blue = Neutral (replaces "white")
- Green/yellow = Earth (replaces "green / safety ground")
The fuse and power switch must both be in the Active line. The earth wire goes to its own dedicated, star-washered solder lug on the chassis, close to where the mains lead enters, and is never removed.
3. Fuse rating and type
The 2 A fuse shown on US layouts is for 120 V mains. At 240 V the primary current is roughly halved, so a slow-blow fuse in the 500 mA to 1 A range is typical for a Champ. Check the transformer datasheet and your schematic before deciding. Use a slow-blow (T) fuse, not fast-blow, so the switch-on surge does not blow it.
Fuses come in two common sizes: 3AG (6.3 × 32 mm) and M205 (5 × 20 mm). Make sure the fuse matches your fuse holder.
4. Power switch and mains lead
Rob's layout uses a volume pot with a built-in power switch. For 240 V we recommend a separate toggle switch rated for 240 V AC. Check your chassis has a hole for it, or drill one. Use a 3-core, earthed 240 V mains cord with a proper cable gland for strain relief.
5. Expect slightly higher voltages
Australian mains often sits at 240 to 250 V, so B+ and heater voltages can read a little higher than on US-drawn layouts. That is why we list 500 V filter capacitors below rather than the 450 V or 475 V parts shown on the original layout.
The parts list
Reference numbers (R1, C1, V1 and so on) match Rob Robinette's 5F1 layout. Always check values against the schematic and layout you are building from, as versions and mods differ and Rob may change his.
Chassis, board and hardware
| Ref | Qty | Part | Evatco product |
|---|---|---|---|
| — | 1 | 5F1 tweed Champ chassis, pre-punched | 5F1 Chassis Tweed Champ Style |
| — | 1 | 5F1 layout turret board | 5F1 Turret Board |
| V2, V3 | 2 | Octal (8-pin) valve sockets for the 6V6 and 5Y3 | Fender-style octal ceramic socket |
| V1 | 1 | 9-pin valve socket for the 12AX7 | 9-pin sockets |
| — | 2 | Octal valve retainer clips | Clip-type octal tube retainer |
| — | 2 | M3 and M4 (6 pack) screws, nuts and washers | Screws & washers |
| — | 4m | Solder lugs for ground points (one dedicated to mains earth) | Locking earth solder lugs |
| — | 2 | 10mm Rubber grommets for transformer leads through the chassis | Rubber grommets |
Transformers
| Ref | Qty | Part | Evatco product |
|---|---|---|---|
| PT | 1 | Power transformer, 240 V primary, 325-0-325 V, 6.3 V CT and 5 V heaters. Ground the 6.3 V centre tap. | Hammond 291AEX |
| OT | 1 | Multi-tap version with 3.2 / 8 / 16 Ω secondaries, if you want to use either 4 Ω, 8 Ω or 16 Ω speaker | Hammond 1760C |
Valves
This amp comes with JJ Electronics tubes and you may wish to try something else. The easiest option may be for you to simply use our Fender Champ retube kit, which includes all three valves below.
| Ref | Qty | Part | Evatco product |
|---|---|---|---|
| V1 | 1 | 12AX7 preamp valve (both triodes used: V1A preamp, V1B driver) | JJ 12AX7 / ECC83S |
| V2 | 1 | 6V6GT power valve | JJ 6V6S |
| V3 | 1 | 5Y3GT rectifier for the classic tweed sag | JJ 5Y3S |
The tubes provided are the most widely used types. If you want to try a different first-stage valve, our V1 Preamp Tube Simulator compares gain and character. For more on rectifiers, read Understanding Rectifier Tubes.
Resistors
| Ref | Qty | Value | Function | Evatco product |
|---|---|---|---|---|
| R1 | 1 | 1 MΩ | Input jack grid resistor | 1 W carbon film |
| R2, R3 | 2 | 68 kΩ | Grid stoppers | 1 W Metal Oxide |
| R4 | 1 | 1.5 kΩ | V1A cathode | 1 W Metal Oxide |
| R5, R7 | 2 | 100 kΩ | V1 plate loads | 1 W Metal Oxide |
| R6 | 1 | 1.5 kΩ | V1B cathode | 1 W Metal Oxide |
| R9 | 1 | 220 kΩ | V2 grid leak | 1 W Metal Oxide |
| R13 | 1 | 22 kΩ | Negative feedback | 1 W Metal Oxide |
| R10 | 1 | 10 kΩ 2 W | B+ voltage dropping | 2 W metal oxide |
| R11 | 1 | 22 kΩ 2 W | B+ voltage dropping | 2 W metal oxide |
| R8 | 1 | 470 Ω 5 W | 6V6 cathode (bias) resistor | 5 W cement |
Need to check a value? Our FAQs & Tools page includes a resistor colour code guide.
Capacitors
| Ref | Qty | Value | Function | Evatco product |
|---|---|---|---|---|
| C1, C2 | 2 | 0.022 µF 630V | V1A and V1B coupling caps (outer foil to the lower-impedance side) Sozo | Polyester 500 V |
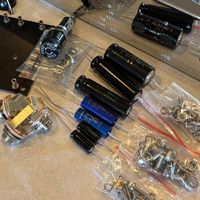
| C3 | 1 | 16 µF 500 V | B+1 filter (first filter after the rectifier) Sprague | Axial electrolytics |
| C4, C5 | 2 | 8 µF 450 V | B+2 and B+3 filters Sprague | Axial electrolytics |
| C6 | 1 | 25 µF 50 V | 6V6 cathode bypass Sprague | 25 µF 50 V axial |
| C7 | 1 | 25 µF 50 V | Optional V1A cathode bypass (more gain & bass) Sprague | 25 µF 50 V axial |
Electrolytic capacitors are polarised. Double-check the orientation of every filter and bypass cap before power-up. See our capacitor guides for code and voltage help.
Controls, jacks and pilot light
| Ref | Qty | Part | Evatco product |
|---|---|---|---|
| R12 | 1 | 1 MΩ audio (log) taper pot, volume | Alpha 1M audio Switch |
| — | 1 | Black Knob for volume pot (chicken-head for the period look) | Amp knobs |
| In 1, In 2 | 2 | 1/4" mono input jacks (Hi and Lo) | Switchcraft Type 11 |
| Spkr | 1 | 1/4" mono speaker output jack | Switchcraft Type 11 |
| Light | 1 | Pilot light assembly & Green Jewel | Jewel bezels |
| — | 1 | 6.3 V pilot lamp bulb (runs off the heater winding) | Amp dial lamp bulbs |
Mains, fuse and wiring
| Ref | Qty | Part | Evatco product |
|---|---|---|---|
| F1 | 1 | Panel-mount fuse holder | 3AG fuse holder |
| F1 | 2+ | Slow-blow fuse, 500 mA to 1 A for 240 V (keep spares) | Fuses & fuse holders |
| — | 1 | 3-core earthed 240 V mains lead | 240 V mains cord |
| — | 1 | Cable gland / strain relief for the mains lead | Cable gland |
| — | 1 | Heat shrink for all mains connections and unused transformer leads | Heat shrink pack |
| — | 3m | Hook-up wire for the classic vintage look | Vintage cloth pushback wire |
| — | 1m | Twisted heater wire (6.3 V and 5 V runs) | Heater wire |
| — | 1 | Bare wire for the preamp and power-amp ground buses | 18 AWG buss wire |
| — | as req. | Speaker wire, jack to speaker | Speaker wire |
Tools
- Temperature-controlled soldering iron (40–60 W) and quality solder
- Multimeter for checking voltages and continuity
- Wire trimmers and strippers
- Note: These chassis are steel. If you need to add a hole or modify the chassis, ensure you use steel drill bits and a nail punch to reduce the chance of going off centre.
- A variac or "bulb limiter" for first power-up is strongly recommended
Speaker and cabinet (not included)
The speaker and cabinet are not part of the parts list above. Your speaker choice depends on the size of the cabinet you build.
Now you have an upgraded output transformer, you are not limited to 4 Ω speakers. The Hammond 1760C has 3.2, 8 and 16 Ω taps, so you can choose from a wider range of speakers and impedances below.
8" speakers (original-size Champ cabinet)
Jensen P8R
The traditional Champ speaker. An 8" alnico with a focused, bright tone that breaks up early, giving the classic small studio amp sound.
WGS G8C
A ceramic 8" from WGS with a vintage American voice. A great all-rounder for a Champ at a very reasonable price.
10" speakers (larger cabinet)
Jensen P10R
A 10" alnico for a bigger cabinet. You get a fuller bottom end and a little more volume while keeping the vintage tweed character. A popular upgrade for a Champ.
Match the speaker to the output transformer tap
The Hammond 1760C has three secondary taps. Wire the tap that matches your speaker:
- 4 Ω speaker → 3.2 Ω tap
- 8 Ω speaker → 8 Ω tap
- 16 Ω speaker → 16 Ω tap
Insulate the unused taps. Never run a valve amp without a speaker connected.
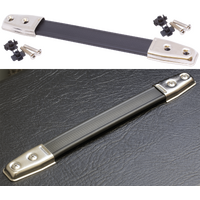
For the cabinet covering, our gold tweed authentic woven fabric and beige, brown and gold stripe grill cloth give the period-correct look. Our free Tolex & Grill Cloth Estimator works out how much to order. Add a Fender-style leather handle, chassis straps and feet to finish it off.
Learn more
Rob Robinette's How Amps Work is one of the best free explanations of valve amp circuits on the web. His detailed 5F1 layout (PDF) and annotated schematic are the basis for the reference numbers on this page. Remember his drawings are for 120 V mains, so apply the 240 V notes above.
Still deciding between amps? Read Should I build a 5F1 or 5E3?, see the 5E3 Tweed Deluxe parts list, or explore the Fender tweed evolution.
| SKU | AP-5F1PPP |
| Brand | Evatco Pty Ltd |
Be The First To Review This Product!
Help other Evatco users shop smarter by writing reviews for products you have purchased.